When Cuban Cigars are hand crafted by highly skilled artisans known as “Torcedores” in Cuba, one of the final stages of the process is to add a “Cap” to the cigar. This is the closed end of the cigar, and is the end from which you should smoke your cigar.
To enjoy your Cuban Cigar, you will first need to cut this cap off the cigar, with the cigar cutter provided in your Wedding Cigars box.
Whilst there are many styles of cigar cutter, and several techniques to cut a cigar, in this article we will focus on the most common approach known as a “Straight Cut” using a standard cutter.
A common mistake people make with their first cigars is to remove too much when cutting the cap – this can result in the rest of the cigar starting to unravel and spoiling your experience, so it’s important we get this right!
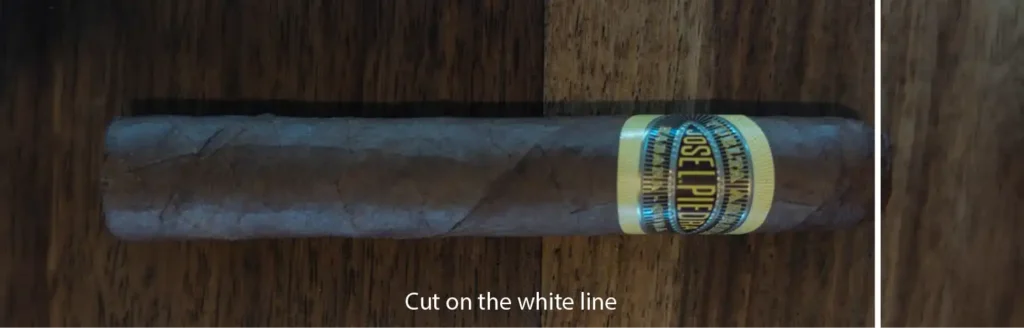
Looking at the diagram above should give you a good idea of where you should cut the cigar, about 2-4mm from the end.
To make the cut, open your cigar cutter by pulling on both ends to reveal the blade, then insert the cigar into the hole by approximately 4mm, so the blade is in line with where you want to make the cut.
Then, in a swift and firm motion, close the cutter in one movement to cut the cap off the cigar.
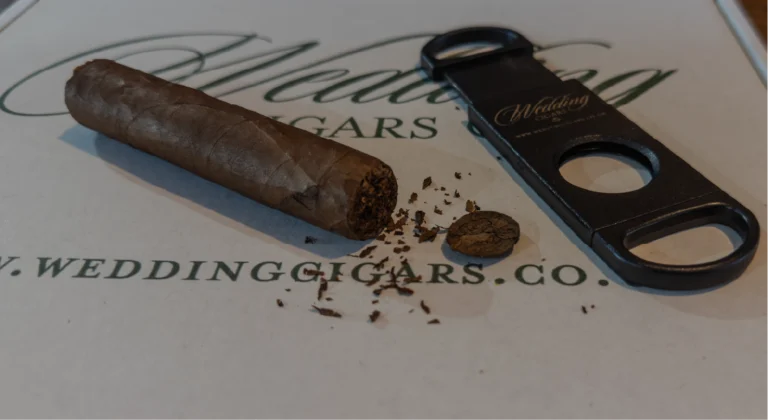
A “Perfect” cut will remove only the cap, like in the picture below. Don’t worry If you don’t master it first time as this is an art!